How to Make Kim ChiPosted By Dr. Ben Kim on Sep 02, 2009
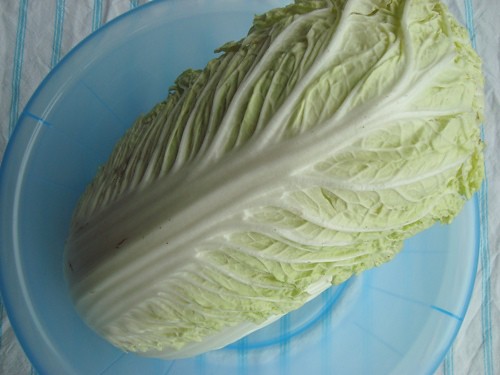
Kim chi that's made with cabbage is loaded with indole-3-carbinol (I3C), a compound that is well recognized as a powerful cancer-fighting compound. Numerous studies indicate that I3C can offer protection against many different types of cancer and may even stop the growth of existing tumors. You could hop on over to a local Korean market to buy a bottle of kim chi, but it may not be as healthy as you'd like, since most commercially prepared varieties are made with white sugar and shrimp. To make healthy kim chi that still has lots of flavor and health-promoting compounds, start with a whole head of fresh Napa cabbage:
Separate the leaves and chop them up into bite-size pieces. These shreds of cabbage will shrink about 25% during processing, so no need to make them too small. And no need to clean them yet, as we'll be giving them a good rinse in a bit.
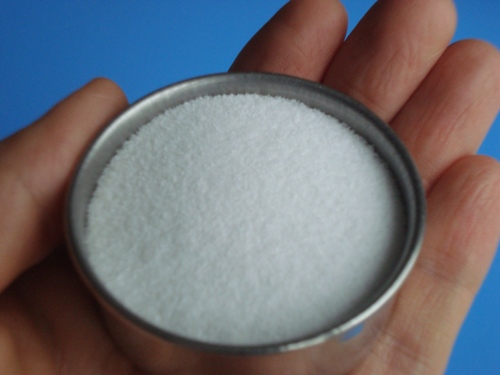
Measure out a quarter cup of sea salt.
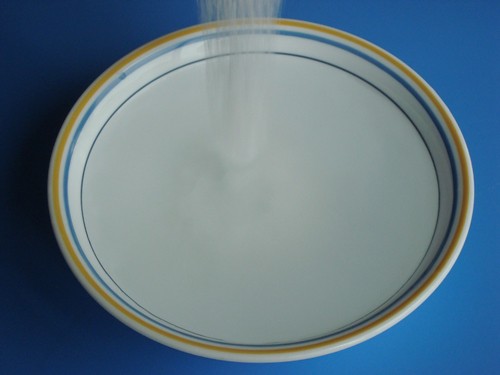
And add it to a small bowl of warm water.
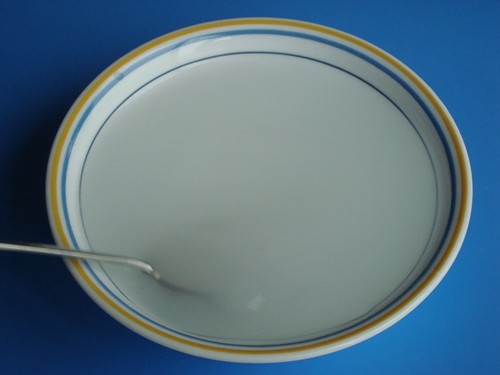
Give it a gentle stir until the salt is dissolved.
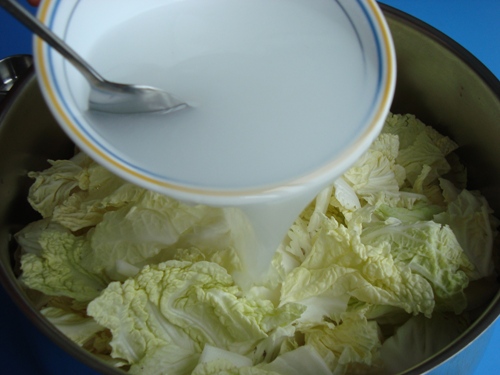
Now add the salt water to the cabbage and give the cabbage a light toss to distribute the salt water.
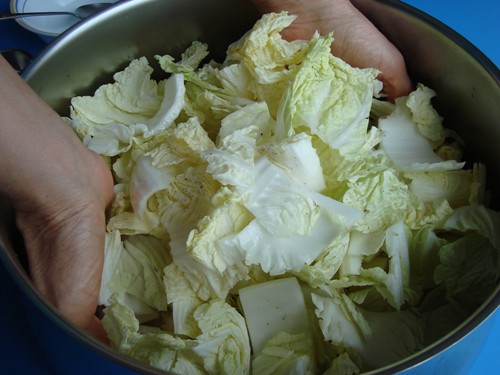
Now a bit of waiting time. The salted cabbage needs to sit at room temperature for about four hours. The salt will help draw moisture out of the cabbage, and will also act as a natural preservative. Here's what the cabbage should look like after about four hours:
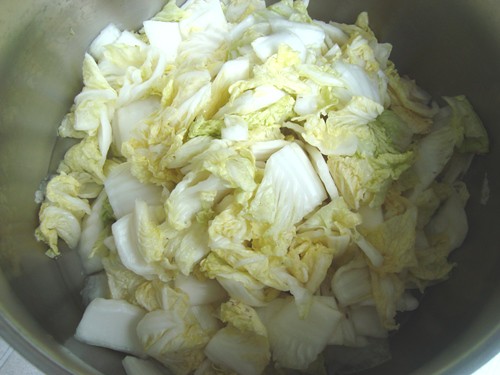
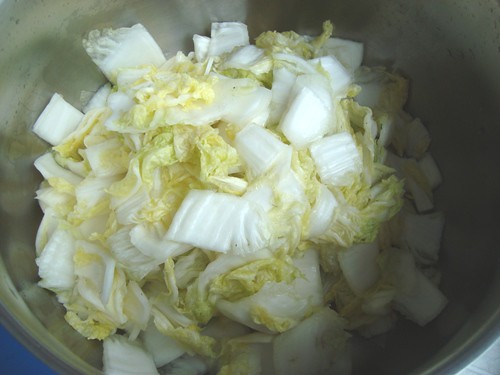
If you look closely, you'll see a small pool of salt brine at the bottom of the bowl. Now grease up your elbows and wash and strain the cabbage two or three times. You want to rinse off the salt water and return the cabbage to a large bowl. Congratulations - this is the base for your kim chi.
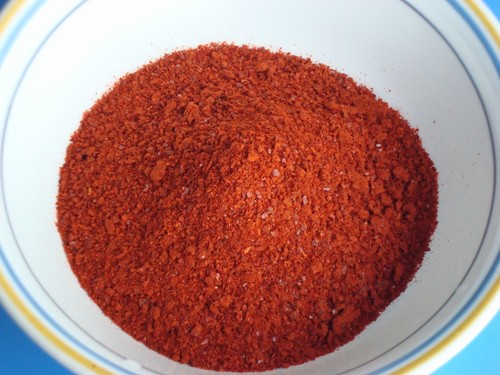
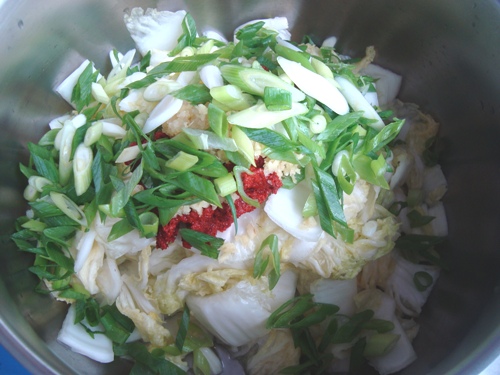
Measure out a quarter cup of ko choo kah rhoo, also known as fine red chili flakes/powder. If you don't have easy access to a local Korean grocery store, you can order ko choo kah rhoo from the following site:
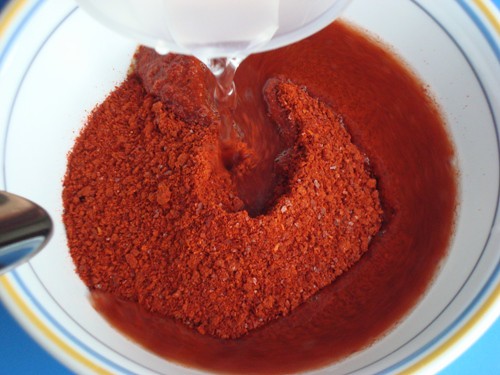
Add a quarter cup of warm water and mix with a spoon until the chili powder/flakes turn into a bit of a paste.
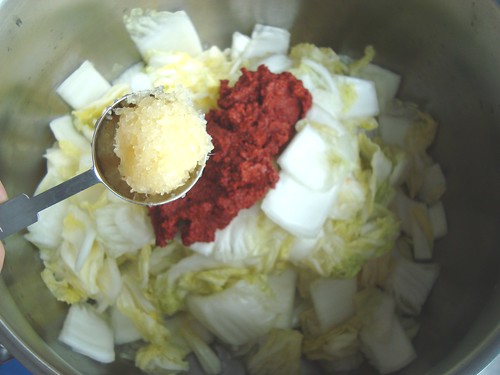
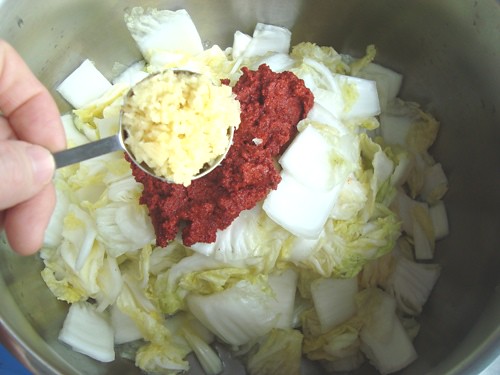
Transfer the red pepper paste to the cabbage.
Plus a tablespoon of minced garlic.
And a tablespoon of finely chopped/minced ginger.
Three to four green onions, sliced.
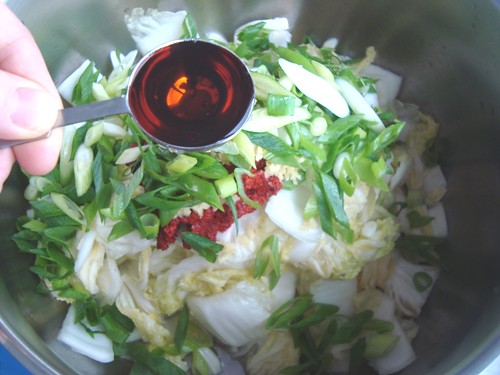
Two tablespoons of anchovy sauce or fish sauce. If you prefer a vegetarian version, you can skip this step.
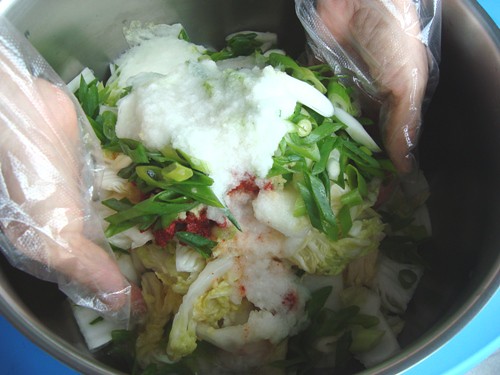
And now for the secret ingredient that sets this kim chi apart from most commercially prepared varieties: a concoction of half a ripe apple, half a ripe pear, and half a yellow onion, all blended up with one cup of water.
This apple/pear/onion blend adds a hint of natural sweetness to the kim chi - most commercial varieties simply add a cup of sugar. Now put on a pair of gloves so that you can get right in there and give everything a solid toss and rubdown. Gloves are necessary, as the red chili flakes/powder will make your bare hands burn.
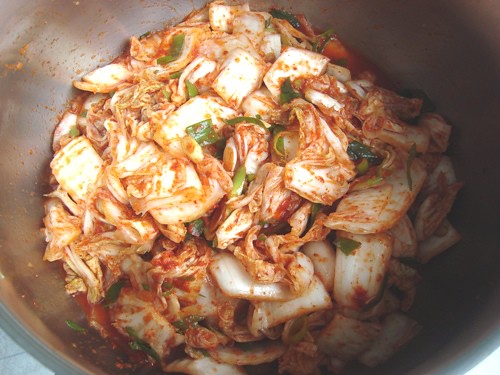
And voila, you have homemade kim chi that should please even the fussiest of Korean food critics.
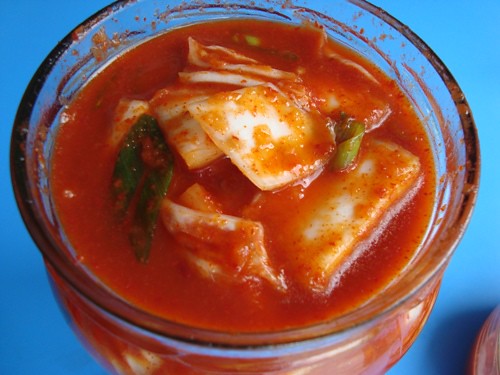
You want to bottle the kim chi up in glass bottles, cap them, and leave them out at room temperature for 24 hours before refrigerating. One word of warning: don't fill the jars right up to their tops, as the contents will expand a bit as the kim chi ferments, and filling the jars to their rims will likely result in leakage. Here's a look from up top:
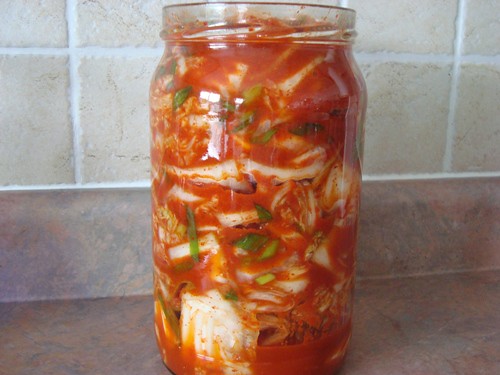
And from the front in all its glory:
After 24 hours of fermentation out in room temperature, transfer capped bottles to the refrigerator and take portions out as needed. The kim chi will continue to ferment while refrigerated, and will keep for at least a month. The longer it ferments, the more sour it will get. Personally, I prefer kim chi that isn't sour at all, so we tend to use these bottles up within a week or so. Click here for a printer-friendly version of this recipe (no pictures): Once you master the art of making your own healthy kim chi, you can enjoy it as a side dish to just about any main dish, and you can make it a component of dishes likeKorean pancakes (bin dae duk) and a number of different Korean stews. |
Sunday, March 14, 2010
Kim Chee
all I will add to this is that you can use just about any veggie at all to make kim chee


Subscribe to:
Post Comments (Atom)

No comments:
Post a Comment